Handstand Hold: How to Do It, Scaling, and Progressions

athlete putting on wrist wraps

Handstands holds are in most functional fitness athletes’ toolboxes. They build strength and stability and are a necessary step on your way to handstand push-ups, handstand walks, and a number of other movements. But how do you perform a handstand hold against the wall? What are some progressions and ways to scale it? And excitingly, how can you graduate to freestanding handstand holds?

Let’s go!

How Do You Do a Handstand Hold Against the Wall?

This is where it all starts. Almost all athletes begin practicing handstand holds using the wall as support. It helps you build not just the requisite strength and mobility but also confidence (which is a must for athletes who feel scared of handstands — totally understandable!).

To do a handstand hold against the wall, place your hands on the ground about a foot away from the wall. Then kick your feet up so that your body is in a handstand position, with your feet supporting you against the wall. Hold this position for several seconds before kicking back down.

Let’s break this down into more detailed steps:

  1. Place your hands on the ground about a foot away from the wall: This is a comfortable placement for most of us, but feel free to play around with it!
  2. Kick your feet up so that your body is in a handstand position against the wall: Some people do these first two steps in one fluid motion. Others like to get their hands situated and then kick up. Note that the former approach will give you a little more momentum.
  3. Hold the position: Start for just a few seconds at a time and work your way up. Being able to maintain this position for longer periods of time means that handstand walking and handstand push-ups will come a little easier to you later on.

Athlete doing handstand walking

6 Tips for Mastering Handstand Holds

It sounds simple enough. And in a way, it is. However, there are still smaller details of handstand holds that you need to be aware of. Here are a few tips to help you get the most out of your handstand holds against the wall:

  1. Start slowly and build up gradually: If kicking up is hard enough, then just practice that for now! (If this is you, then you might like our blog on handstand hold alternatives.) Once you’re more comfortable with this part of the movement, you can focus on standing on your hands for longer.
  2. Engage your core and glute muscles: A lot of athletes mistakenly think that handstand holds are all about shoulder strength. However, your core plays a huge role. Avoid letting it “sag.” In a handstand hold, your core — and glutes — should all be engaged. If your ribcage is sticking out, this is an indication that you’re not engaged!
  3. Keep your feet close together and pointed: Yes, your legs and feet matter. This is especially going to come into play once you’re ready to stop using the wall. So, practice it now.
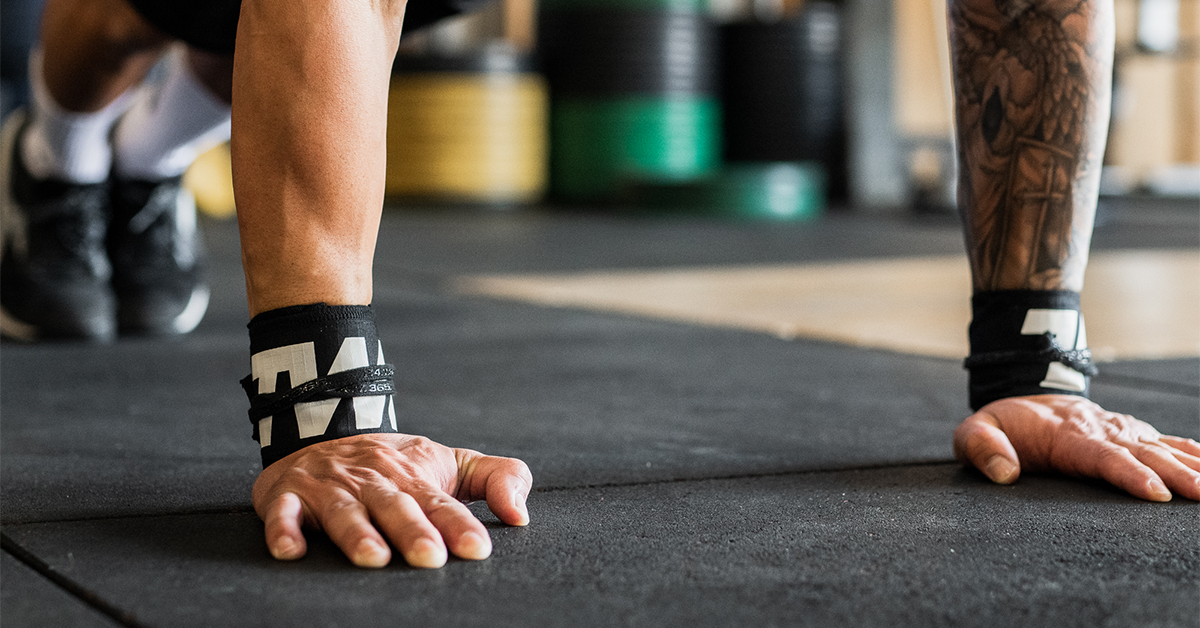
  4. Make sure your hands are about shoulder-width apart and your fingers are spread wide: The more surface area your hands and fingers can cover, the more stable you’re going to be. Plus, once you’re ready to practice away from the wall, you’re going to use your fingers to help you balance.
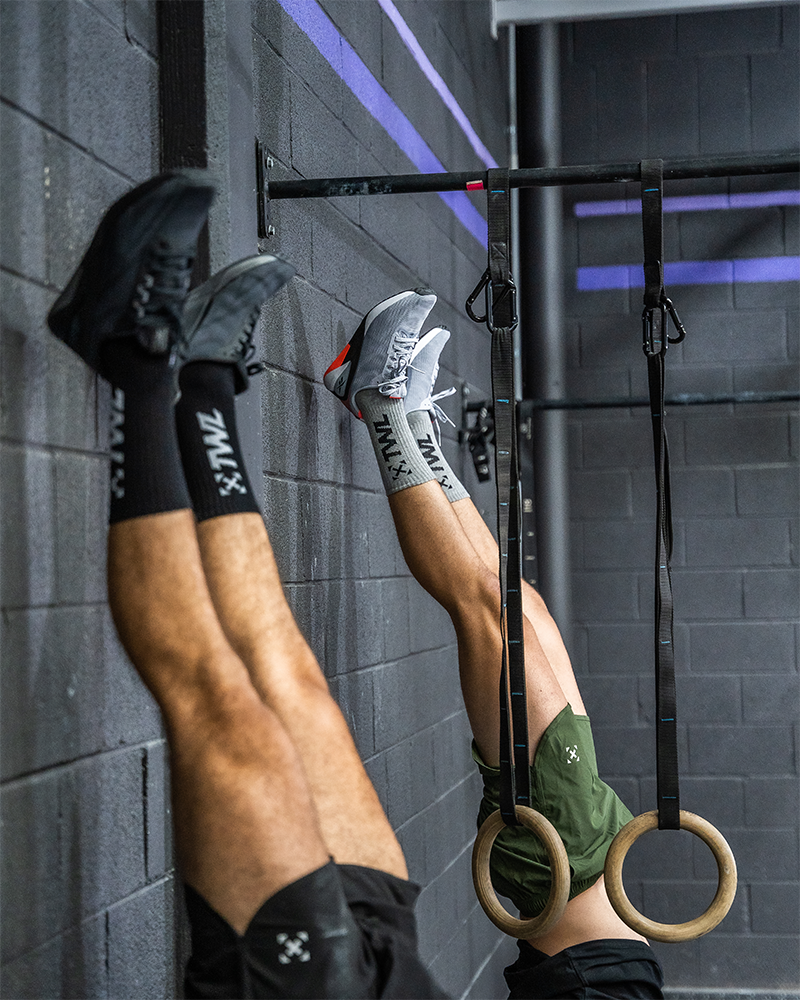
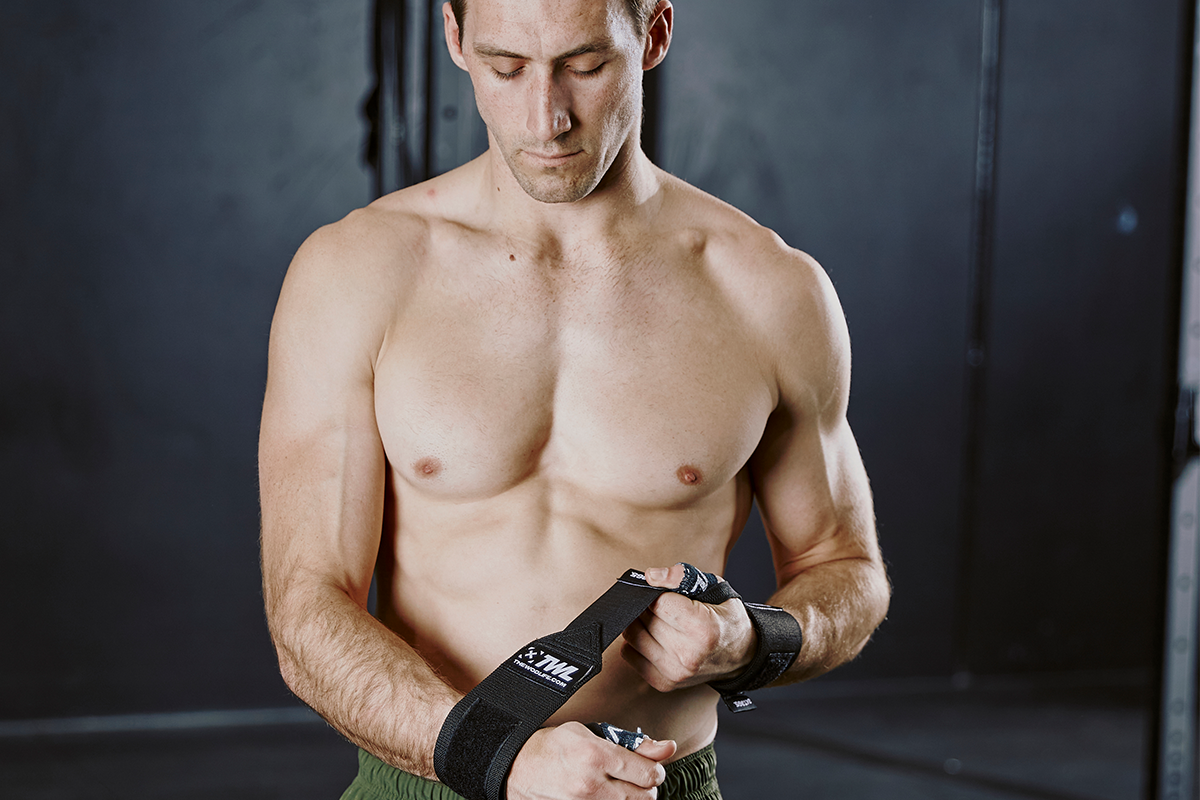
  5. Use wrist wraps for additional support: They provide extra compression and keep the joint safe.
  6. Focus on your breath and stay relaxed: Tensing up your whole body and holding your breath will only make this feel more challenging. Stay engaged, yes, but relax and remember to breathe.

Shop Now

3 Benefits of Practicing Handstand Holds Against the Wall

By rehearsing handstand holds, you’re getting a lot of bang for your buck. It’s going to help you make gains with other things you do in the gym, including any and all overhead movements. There are many benefits to practicing handstand holds against the wall, including:

  1. Improving your balance and coordination: Because being upside-down is such an unnatural position, you’re going to take your sense of balance to a whole new level.
  2. Building strength and mobility in your arms, shoulders, and core muscles: Did you know that mobility plays a huge role in injury? And, shoulder injuries are all too common in functional fitness athletes. Handstand holds are an excellent way to keep your upper body mobile, flexible, strong, and sturdy.
  3. Increasing your mind-body awareness: Almost every inch of your body plays a role in handstand holds. Balancing on your hands isn’t easy, and it’s going to force you to pay much more attention to your body, balance, and center of gravity.

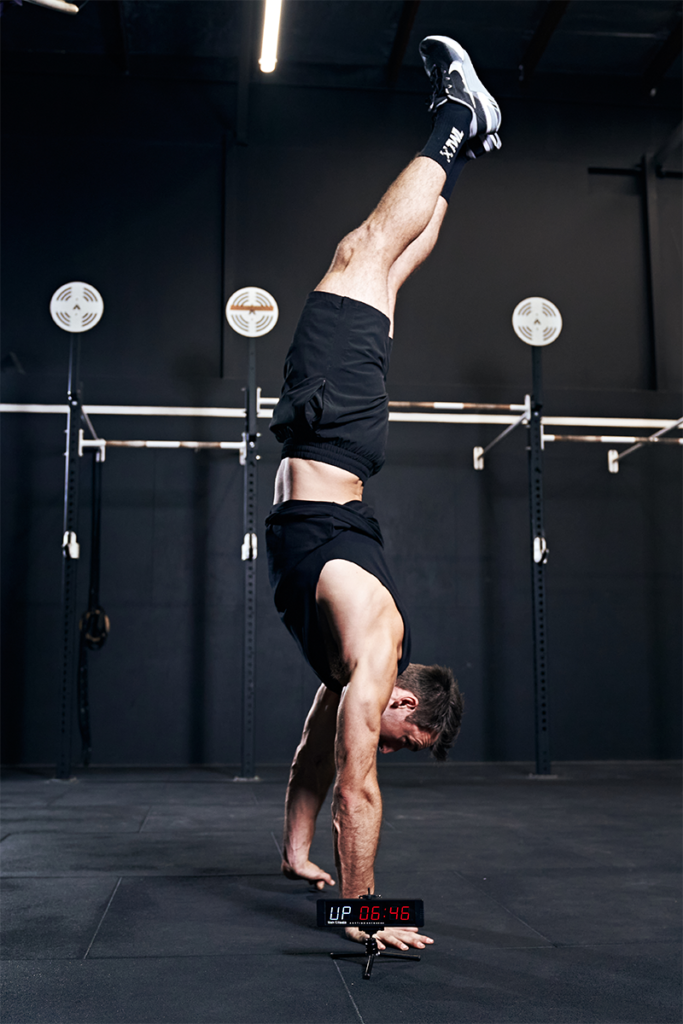
How to Scale to a Freestand Handstand

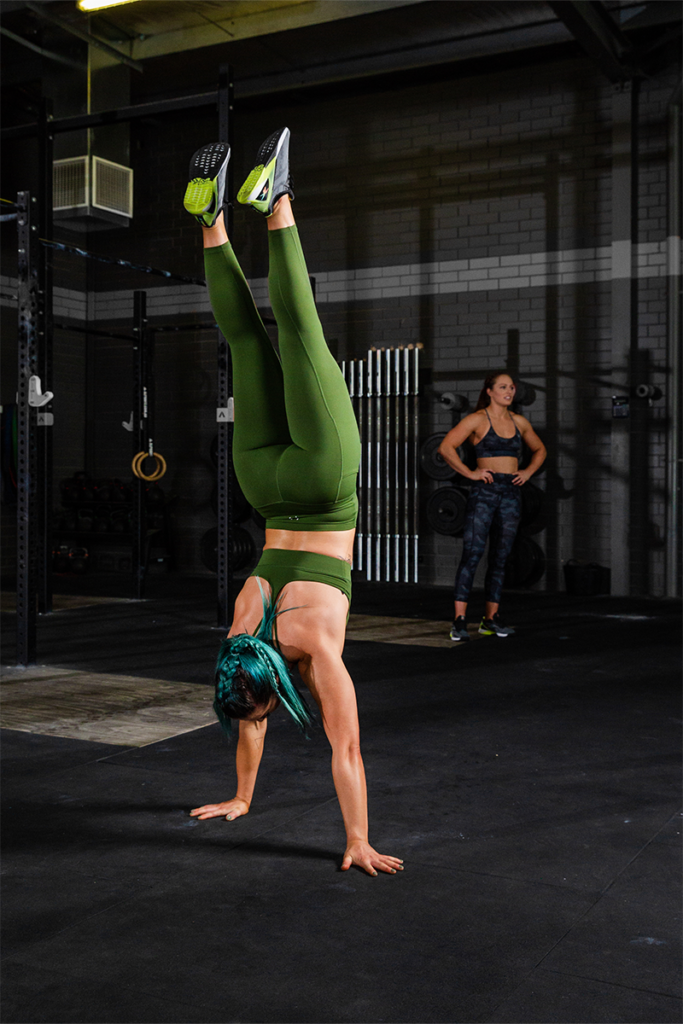
At some point, you’re going to be thinking, “Okay, I feel good against the wall! What’s next?” If you’re looking to up the intensity, you can kick things up a notch with freestanding handstands. This is where you’ll remove the support of the wall and hold the handstand position in the middle of the room. Sweet!

Athlete performing handstand hold freestanding

Psst! Be sure to check out our blog on handstand progressions.

Here are a few tips to help you nail the freestanding handstand:

  • When you feel ready, move away from the wall an inch or two at a time. This way, if you fall, you still have the wall for support.
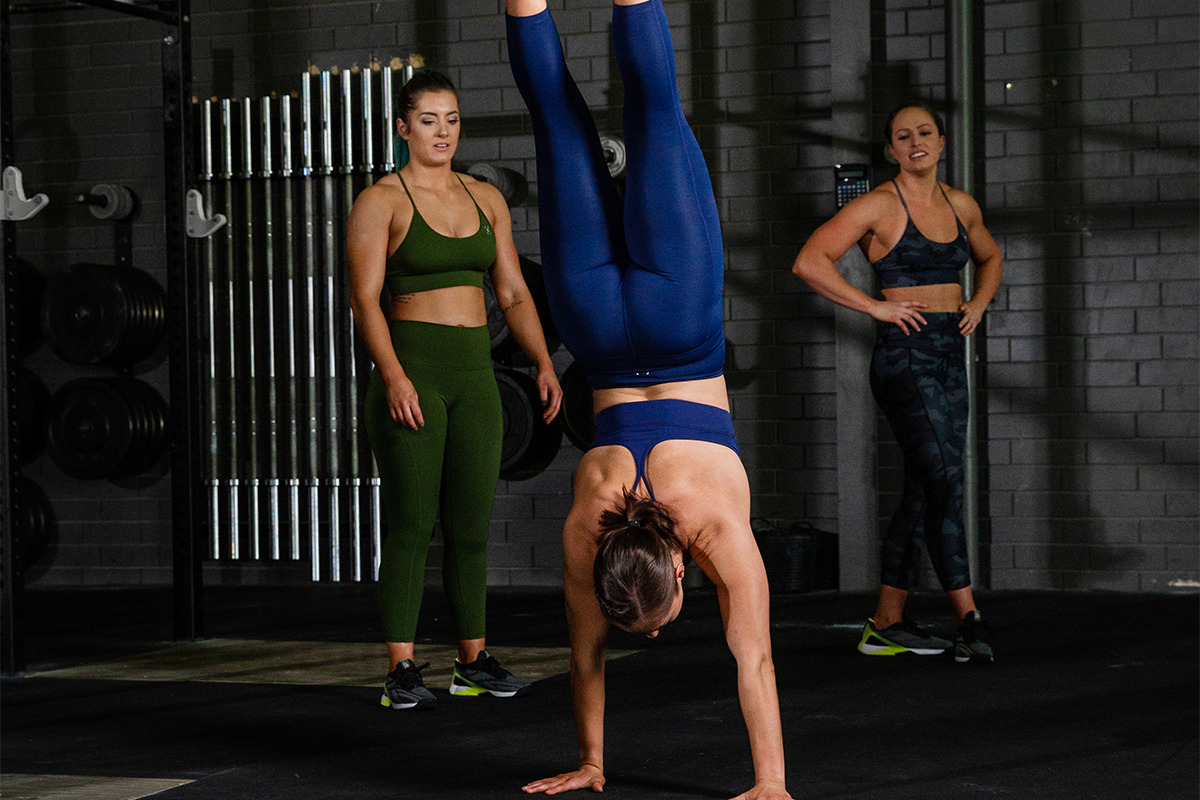
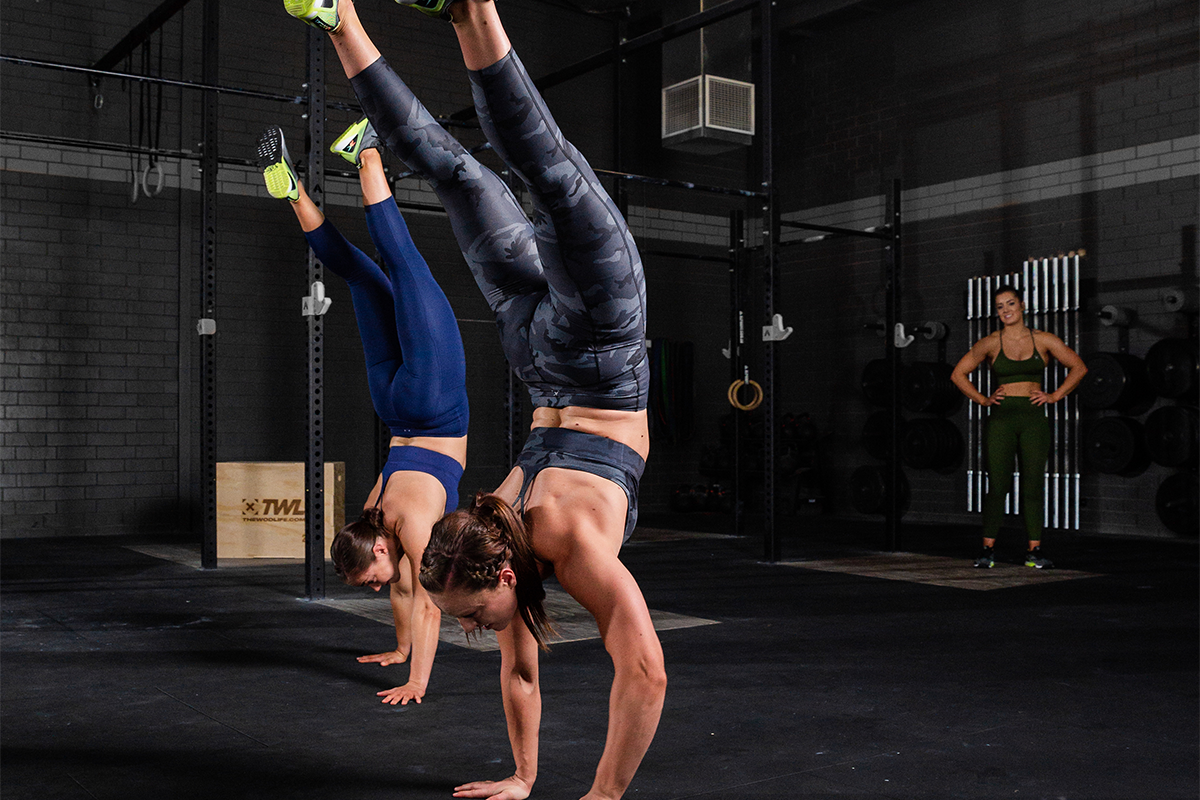
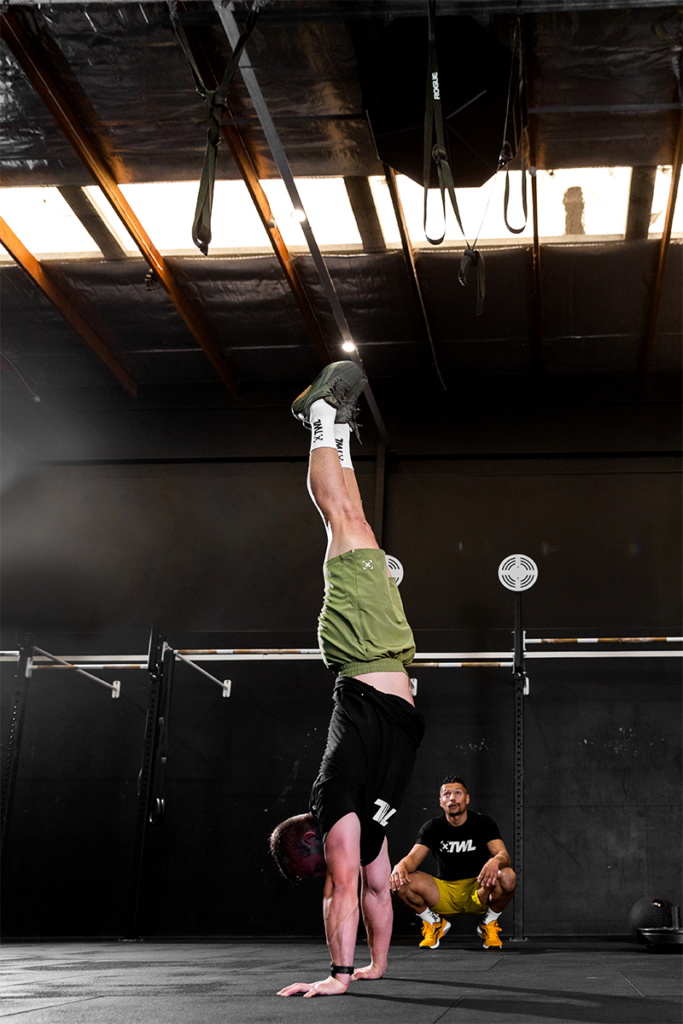
  • Step away from the wall completely but have a friend spot you.
  • Perform a wall walk to get into a handstand hold. This means you’ll be facing the wall. It’s an entirely different sensation and means you don’t have the support of the wall should your feet start to drift behind your head.
  • Read our blog on handstands for beginners, because we have even more suggestions there!

5 Handstand Progressions to Build Strength and Confidence

athletes practicing handstand progressions

There are a few movements in functional fitness that give most athletes a run for their money. Muscle-ups are one. The Olympic lifts can be challenging. And handstands are another. While practice and repetition are important, flinging your legs over your head over and over again won’t help you master the elusive handstand. So, how can you strategically work your way to performing one Rx’d? Let’s talk about a few handstand progressions that’ll get you there.

Psst! Let’s talk about helpful gear. When it comes to standing on your hands, wrist wraps are a lifesaver.

Shop Now

5 Handstand Progressions for Mastering the Movement

Now, the handstand demands all sorts of capabilities, namely mobility, strength, and confidence. So, we’re going to try to tackle all three with these handstand progressions. Let’s go!

1. Box Holds

If you’re as green as they come, then you might be dealing with a lack of strength, mobility, and confidence. And that’s ok! After all, handstands can be a little scary. Let’s start off slowly. Commonly, to help mimic the feeling of holding your body’s weight upside, coaches set athletes up with a plyo box.

But you’re not doing box jumps. Rather, you’re putting your feet up on the box and your hands on the floor. The further your hands are from the box, the easier it’s going to be. The closer your hands are to the box, the more challenging it’s going to be and the more it’s going to feel like a real handstand. This is because, with your bum higher in the air, more of your body’s weight is in your hands — as if you were upside down.

Do this for a few rounds, aiming to hold for anywhere from about 15 to 30 seconds each time. This is a common handstand hold alternative and it’s an excellent primer.

2. Kick-Ups

The next on our list of handstand progressions is kicking up against the wall. This will require a little more strength and mobility than working with a plyo box. Facing the wall, practice starting on your feet, bending forward to place your hands on the ground a few inches from the wall, and kicking your legs up. You should finish with your heels touching the wall for support.

Don’t just hang out here all slack. Form matters! This is your opportunity to build strength in a controlled environment. Push out of your shoulders. Squeeze your core. Notice how it feels to be engaged and intentional in this position. That’ll translate when eventually step away from the wall.

3. Wall Walks

This is going to up the level of difficulty once again, for two reasons. First, wall walks take longer, which means you need greater strength. Second, you are now going to be facing the wall, which can be intimidating!

Face away from the wall and lay down with your chest to the floor. Your feet should be up against the wall, and your arms should be bent with your hands by your chest — like a push-up. Then, push up to a plank position, arms straight. Begin to “walk” your feet up the wall, while walking your hands toward the wall. The goal is to get the front of your body flat up against the wall, nose touching. (It’s ok if you’re not there quite yet. You can still practice the wall walk.)

Once again, remember to stay engaged. Once you’re ready to come down, you can either cartwheel out of it or simply walk back down.

4. Shoulder Taps

Next, let’s add a little more movement to our handstand progressions! You’re going to once again face away from the wall and kick up into your handstand. From here, you’re simply going to alternate sides and tap your shoulders — left fingers to the left shoulder, right fingers to the right shoulder.

You’re going to notice that this requires you to shift your weight ever so slightly from side to side. This is going to help you build strength and also discover if you have any imbalances in weakness or stability in either shoulder. And it’s an especially important progression for when you decide to start training handstand walks, as it mimics the movement.

Aim to do this for reps or a specific amount of time. You can do this facing the wall or turning away from it.

5. Hip Taps

Want to up the intensity one more notch? Try hip taps. It’s the same concept except for this time, as you probably guessed, your fingers are going to tap your hips. Aside from having to move your arms a bit faster, you might also need to shift your weight from side to side a little more drastically. When you tap your hips, keep your arms straight and swing them out to the sides for your fingers to make contact.

Make it spicy: Once you have the necessary strength, try standing on one hand! Slowly tip to one side — let’s say the left — and as you do, carefully take the weight off of your right hand until your fingers are just grazing the ground. Eventually, you’ll be able to lift your right hand up entirely and hold that position. Again, this is great for building strength and also learning if one shoulder is stronger/more stable than the other. Bonus!

We often think that in order to get better at something, we just need to do that thing more. While this is partly true, you also need to supplement your training with other supportive exercises. That’s where these handstand progressions come in. Utilize them on a regular basis and before you know it, you’ll be standing on your hands with ease!

Handstands for Beginners: Achieving a Freestanding Handstand

Handstands are one of the harder moves to master in functional fitness. Demanding strength, mobility, and a healthy dose of confidence, they’re not something that happens overnight. And that makes them even more frustrating — progress can feel slow. If you feel like handstands are getting the better of you, you’re not alone. In this blog, we’ll focus on handstands for beginners and how you can start to feel more comfortable hanging out upside down.

Grab your wrist wraps and let’s get to it.

Shop Now

How to Master Handstands for Beginners

As we said, patience is key. Let’s focus on building a strong foundation so that handstands will be more manageable.

1. Handstand Mobility: Warming Up Your Wrists and Shoulders

Before you can even think about kicking up, you need to make sure your joints and muscles are ready. Wrist mobility matters. Otherwise, putting the full weight of your body on your hands can be uncomfortable and even painful. Try these exercises:

  • Form fists and roll them in circles to the left and right.
  • Hold a light dumbbell with your grip facing up and do wrist curls.
  • Stretch your arm out in front of you, palm down, and pull your fingers downward toward you with the other hand. Then, pull your fingers up and toward you.

Shoulder mobility is also important! A lack of mobility in these joints often leads to pain and even injury. Try:

Shop Now

As excited as you may be to improve your handstands, don’t skimp on the warmup. This is necessary for staying healthy and safe.

2. Gaining Confidence Upside Down

If you’re not scared of handstands, feel free to skip this step! However, a lot of athletes understandably deal with a lack of confidence here. Much of it boils down to not feeling in control and totally being able to “see” what you’re doing and where you’re going. What we want are baby steps. Try these in this order:

  1. Get on your hands and knees in the pike position, with your butt in the air. Practice rocking back and forth, transferring your weight into your hands and then back toward your feet.
  2. Place your hands on the ground and climb your feet up onto a box. This starts to mimic the sensation of being upside down and is a common handstand hold alternative.
  3. Practice cartwheels, which have you in a handstand-esque position halfway through.
  4. Stand arm’s length from the wall, facing it, place your hands on the floor, and practice kicking up.

Don’t worry about making it look pretty. Right now, the goal is simple: Gain confidence in the inverted position. As an added bonus, all of these drills are going to improve shoulder strength, which will always come in handy for handstands and a million other movements you perform in the gym.

athlete practicing handstands for beginners

3. Rehearsing the Handstand Itself

When we’re talking about handstands for beginners, we don’t want to go from 0 to 100 in one fell swoop. However, repeatedly kicking up against the wall without any regard for positioning isn’t going to get you there, either. What we want is a safe and comfortable way for you to rehearse the movement while still preparing you to perform a freestanding handstand, without the assistance of the wall. (Scary, we know!)

Try this:

  1. Face the wall and stand arm’s length away from it.
  2. Place your hands in the middle on the floor between the wall and your feet.
  3. Kick up. Both heels should be against the wall. Push up out of your shoulders and engage your core.
  4. Start to bend one knee and bring that foot down flat against the wall until your shin is parallel with the floor.
  5. Bring your remaining (straight) leg forward off the wall so that it forms a straight line with the rest of your body.
  6. Slowly push off of the foot that’s still on the wall, finding your center of gravity until you’re in a handstand.

This approach to handstands for beginners is so helpful because you’re in a totally risk-free position. Even if you fall out of the handstand, you’re falling right back to the position you started in: feet on the ground, facing the wall. Falling backward is what scares a lot of us! This drill avoids that.

Now, when you are ready to turn away from the wall, try this:

  1. Face the wall and stand arm’s length away from it.
  2. Turn around so that your back is to the wall.
  3. Place your hands on the ground so that the heels (bottom) of your hands align with your toes.
  4. Climb your feet up on the wall until your body forms a 90-degree angle. Your legs should be parallel to the floor.
  5. Extend one leg so that it forms a straight line with your body.
  6. Slowly tip into your center of gravity and bring the remaining leg straight up.

Note that with this drill, unless you fall toward the wall, you’re going to be falling backward. So, you need to be able to tuck and roll and/or fall into a backbend. Of the two approaches to handstands for beginners that we’ve shared, this is the more advanced.

female athlete doing handstand

Remember that in the handstand position, your body is still actively engaged. You should be pushing out of your shoulders, not sinking into them. Keep your core tight. Make the movement intentional, rather than simply trying to avoid falling out of it.

We know how frustrating handstands for beginners can be. Give yourself the time you need — practice equals progress! Pretty soon, you’re going to be as comfortable on your hands as you are on your feet.

Handstand Hold Alternative: How to Scale it Down

athlete doing handstand hold alternative

Maybe you have a fear of flipping upside down. (Understandable.) Maybe you’re still working on your shoulder and wrist stability and flexibility. (Totally get it.) But what if your sweat sesh calls for just that? The handstand hold can be a real challenge for many athletes. Let’s run through a few handstand hold alternative ideas, so you can tackle your WOD at a level that best suits you.

Psst! If wrist stability is giving you a hard time, then wrist wraps could really help. They protect the joint and give a little extra compression, so you can feel more secure and confident when you’re upside down.

Shop Now

Handstand Hold Alternative: 4 Options

You know what they say about functional fitness: It’s infinitely scalable! If handstand holds aren’t in the cards right now, try these options instead.

1. Kick-ups

If it’s not so much flipping upside down that bugs you, but staying upside down, then just practice the former! The more time you spend upside down, the more comfortable you’re going to get with it. While other people are doing holds, spend your time kicking up against the wall, holding it for as long as you’re comfortable, and kicking back down. Repeat.

athletes up on wall for handstand hold alternative

2. Child’s Pose Variation

In yoga, to achieve Child’s Pose, you get down on all fours and then sit your butt back on your heels, arms stretched out in front of you. Mimic this but with your hands up against the wall in front of you! You should be looking down, and think of aligning your biceps with your ears. This copies part of the positioning for a handstand hold, allowing you to work on shoulder mobility without being upside down and fully putting the weight of your body on your hands.

3. Pike Push-up Hold

This handstand hold alternative is great for practicing strength, mobility, stability, and conquering any fears you might have. You may be familiar with pike push-ups as a common way to scale handstand push-ups. This time, we’re going to hold the position.

Get down on all fours. Drive your hips up and straighten your legs so that your butt is pointing to the sky. Drive your head through so that your ears are in line with your biceps. Hold this position! Want to make it more challenging? Put your feet up on a box and get in the same position. More of your bodyweight will be directed to your hands, mimicking a real handstand hold even more closely.

4. L-shape Handstand Hold Alternative

This is a good in-betweener. You’ll need to face the wall, and then get down on your hands and knees. Climb your feet up the wall until your legs are parallel with the floor. Your knees and elbows should be locked out. It’s going to go like this:

What we love about this handstand hold alternative is that you get to practice all the most challenging parts of the Rx’d movement without fear and uncertainty.

Above all else, remember to be patient with yourself. While some athletes make handstand holds look easy, that’s only because they’ve spent more time in that position. And with time, you’ll look like a pro, just like them!

Scared of Handstands? Here’s How to Get More Comfortable Upside Down

male athlete in push-up position

Flipping your body upside down can be incredibly intimidating. You feel out of control, and the ground feels so far away. People keep saying, “Just tuck your chin and roll,” but it certainly doesn’t feel that easy. Here are five quick tips for feeling more comfortable on your hands.

How to Beat Your Fear of Handstands with 5 Simple Tricks

1. Start With Your Feet on the Ground

We’re going to scale this back. Way back…

… by not flipping over at all.

Because part of this fear likely stems from supporting and balancing your whole body on just your hands, we want to start by having you support and balance some of your body on your hands.

Start in a downward dog position. Yes, this is a yoga pose. And yes, it’s going to help you tremendously.

What you want to do is practice shifting some of the weight into your hands with your feet still firmly planted on the ground. This is going to help you start to get used to the idea of balancing everything on your hands — without the fear of falling.

2. Graduate to a Box

Feeling better? Good! Let’s keep going.

Next, we’re going to do the same thing, but on a plyo box. You might already have some experience with this if you’ve ever used a box to scale handstand push-ups.

In this case, we’re going to get in that position and just hold it there. So, your toes will be on the box, your hands will be planted on the ground, and your body will be in an L shape, with your bum in the air.

Once again, try shifting your weight forward slightly.

What’s great about this exercise is that it’s a good middle point between having your feet on the ground and standing upright in a full-blown handstand. You get a better taste of it, without having to commit fully.

3. Move to the Wall

Once you’re comfortable on the box, it’s time to move to the wall. There are two ways to do this, and the method you pick mostly depends on your own comfort level.

One option is to kick up with your back to the wall. A lot of athletes opt for this because with the wall supporting their back, they’re not as scared of falling.

The other option is to face the wall. To get in this position, you either do a wall walk until you’re in a handstand, or you can sort of cartwheel into that position. This one requires a little more comfort and coordination. However, it may offer a bigger reward: Without the wall at your back, you’re going to better conquer that fear of fall backward.

View this post on Instagram

A post shared by The WOD Life (@thewodlife)

4. Practice Somersaults

We know this sounds silly but hear us out.

Your friends were right when they told you to tuck and roll. You just need to get comfortable with it. Rehearsing somersaults can help you get there — and prepare you for when you inevitably need to safely bail out of a handstand.

5. Work on Your Cartwheels

Cartwheels are great because if you think about it, they’re essentially a controlled fall. And what happens when you miss or come out of a handstand?

It’s a controlled fall.

Be patient with yourself as you go through these steps — Rome wasn’t built in a day! With time, you’ll be demolishing handstands like a total pro.

Learn more about how to scale handstand push-ups.